What you'll learn
A full pipeline for placing a 2D anime character inside a photorealistic 3D world: isolate the character from its original background using Roto Brush 3.0, build and texture a 3D terrain with scattered vegetation in Blender, import the character back into the 3D scene as an animated image plane, render with Eevee, and finalize the composite in After Effects using Magic Bullet Looks and keyframed curves.
Resources
Phase 1 — Rotoscoping in After Effects
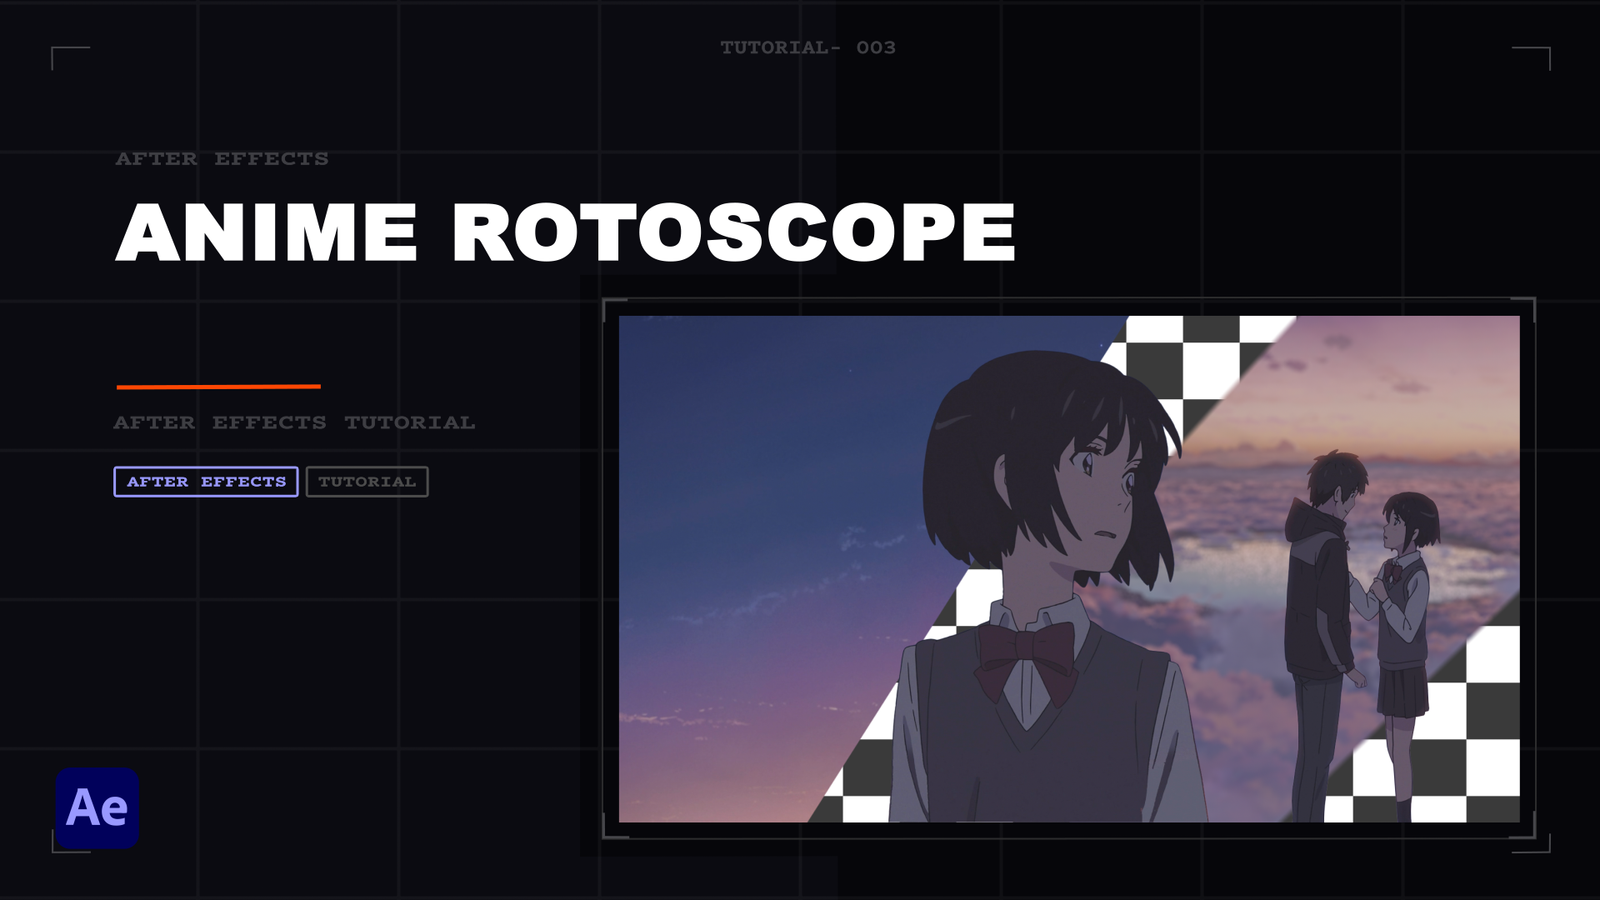
The first task is cutting the anime character cleanly out of its original background so it can be dropped into an entirely different environment.
Roto Brush 3.0
Drop the raw anime clip into an After Effects composition. Select the Roto Brush tool from the toolbar (shortcut: Alt/Option + W). Paint a green stroke over the character to define the foreground. Roto Brush 3.0 (available in After Effects 2024) is significantly faster than previous versions and handles fine hair and edge detail better — use this version if possible.
After the initial stroke, After Effects analyzes the clip frame by frame. Let the propagation run through the full clip before making corrections.
Refining the cutout
Once analysis is complete, freeze the frames (Freeze button in the Roto Brush panel). Review problem frames and correct the mask by painting additional green (add) or red (subtract) strokes.
For edges that remain noisy:
- Adjust Feather to soften hard pixel steps.
- Adjust Contrast to sharpen or relax the edge transition.
- Apply the Key Cleaner effect (Effect → Keying → Key Cleaner) on top of the Roto Brush layer for additional edge smoothing on motion-blurred or compressed footage.
Exporting the alpha sequence
Press Ctrl/Cmd + M to send the composition to the Render Queue. In Output Module settings, set Channels to RGB + Alpha. Export as a PNG sequence or a QuickTime ProRes 4444 file — both preserve the transparency channel. This sequence is the asset you will import into Blender.
Phase 2 — Building the 3D Environment in Blender
Camera matching with a reference
Open Blender and load (or create) a template scene that includes a real-life scale human model — this is your proportion reference. Import a screenshot of the original anime scene as a background reference image. Adjust the 3D camera's focal length and position until the reference human model sits at the same scale as the character in the reference image. This step determines the correct perceived distance and lens so the character reads naturally in the final composite.
Terrain construction
- Add a Plane and scale it to cover the visible ground area.
- Enter Edit Mode (Tab), select all vertices, and Subdivide the plane. A subdivision level around 45 gives enough geometry to sculpt subtle terrain without a heavy poly count.
- Enable Proportional Editing (O) and set the falloff to Smooth. Pull groups of vertices up and down along the Z-axis to create natural undulation. Match the silhouette of the terrain to the reference image.
- Apply a ground texture (from Quixel Megascans or a similar library) using Blender's Shader Editor. Even a simple Principled BSDF with a color and roughness map creates a convincing base for areas of the terrain visible between grass blades.
Scattering vegetation
Use the Scatter 5 add-on (or Blender's native Geometry Nodes scatter workflow) to distribute grass and flower assets across the terrain plane. Key settings to tune:
- Scale — reduce the grass asset scale to approximately 0.1 to match real-world proportions relative to the character height.
- Density — favor grass over flowers at roughly an 80/20 ratio for a natural meadow look with movement-friendly visual texture.
- Distribution — use a slight randomness seed so blades don't align in a visible grid pattern.
Render engine
Switch the render engine to Eevee (Render Properties → Render Engine → Eevee). Eevee renders this type of stylized scene in a fraction of the time Cycles would require and handles the flat image plane shader correctly without caustic noise.
Phase 3 — Integrating the 2D Character into 3D Space
Importing the PNG sequence
Enable the Import Images as Planes add-on (Edit → Preferences → Add-ons → search "Import Images as Planes"). Use this add-on to import your exported PNG sequence directly as a textured plane in the Blender scene. The add-on automatically creates a material from the image and maps it to the plane geometry.
In the import dialog, enable Animate Image Sequence so Blender steps through each frame of the PNG sequence as the timeline advances.
Material setup
Set the material type to Emission rather than a standard Principled BSDF. This prevents Blender's scene lighting from shading the flat anime character — the anime footage carries its own shading internally, and Eevee lighting on top would break the visual integration. You can control apparent brightness by modifying the Emission Strength value directly in the material, which functions as a per-shot brightness/contrast control without returning to After Effects.
Positioning and cleanup
Align the image plane with the reference human model — match the foot position to the terrain surface and the head height to the reference scale. Once the anime sequence is correctly placed, delete the placeholder human model. The image plane now occupies its position in the 3D scene and will be rendered as part of the Eevee output.
Phase 4 — Final Compositing and Color Grading in After Effects
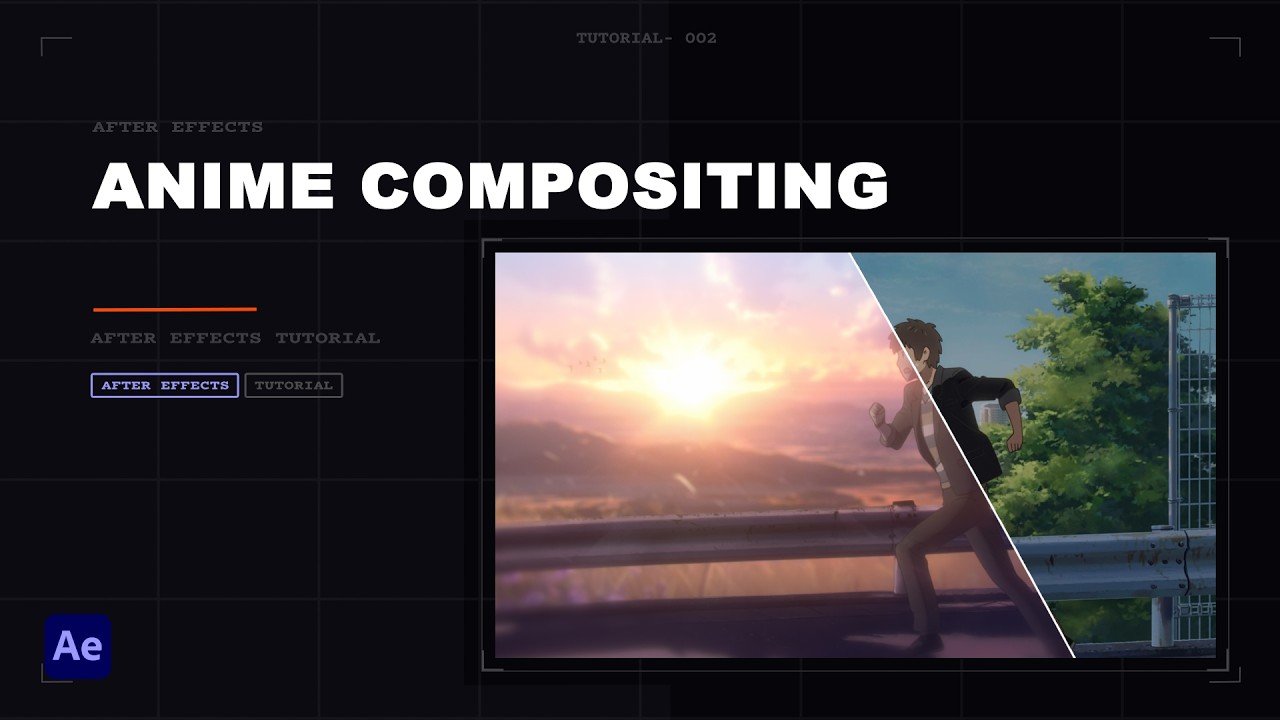
After rendering the full 3D scene from Blender, the composite is finalized in After Effects to unify the visual language of the 2D character and the 3D environment.
Sharpening the render
Import the Blender render and apply a Sharpen or Unsharp Mask effect to the footage. 3D renders, especially with depth-of-field, can appear slightly soft compared to crisp anime linework — a controlled sharpening pass brings the grass detail back in line with the character's edge quality.
Magic Bullet Looks — primary grade
Add an Adjustment Layer above all footage layers. Apply Magic Bullet Looks (Effect → Magic Bullet → Looks).
Inside the Looks interface, build the grade in this order:
- Mojo II — use this as the foundational color base. It warms shadows and cools highlights, which creates an immediate cinematic separation between the lit and unlit areas of the scene.
- Edge Blur — simulates a lens-quality depth of field on the composite without needing a full Z-depth pass from Blender. Apply subtly so the character remains sharp while the extreme foreground and background grass layers soften.
- Spot Exposure — place a spot on the sun or primary light source in the frame. Increase its exposure value to blow out that point, adding a practical light source that reads as physically present rather than composited.
- Gradient Exposure — apply a top-to-bottom gradient with the value set to around -5 initially. This darkens the sky relative to the ground, adding cinematic contrast across the vertical axis of the frame.
- Optical Diffusion — lifts the black point and lowers the white point slightly. This flattens the extreme ends of the tonal range and adds a soft, diffuse bloom that makes the scene feel atmospheric rather than digitally clean.
RGB Curves and keyframing
If the Magic Bullet grade desaturates the footage too aggressively, add a native Curves effect below the Looks effect. Adjust the Red, Green, and Blue channels individually to restore or shift the hue balance to your preference.
Pro technique — keyframing Curves: If your scene transitions between different lighting conditions (e.g., a dark opening sky that brightens as the camera pushes in), you can keyframe the Curves effect directly:
- Move the playhead to the start of the shot.
- Enable keyframing on the curve and set it to match the initial lighting condition.
- Move to the end of the shot and adjust the curve to match the brighter, fully lit state.
After Effects interpolates the curve between keyframes, automatically adjusting exposure and color balance to track the changing environment. This removes the need for a separate time-remapped grade layer per section.