What you'll learn
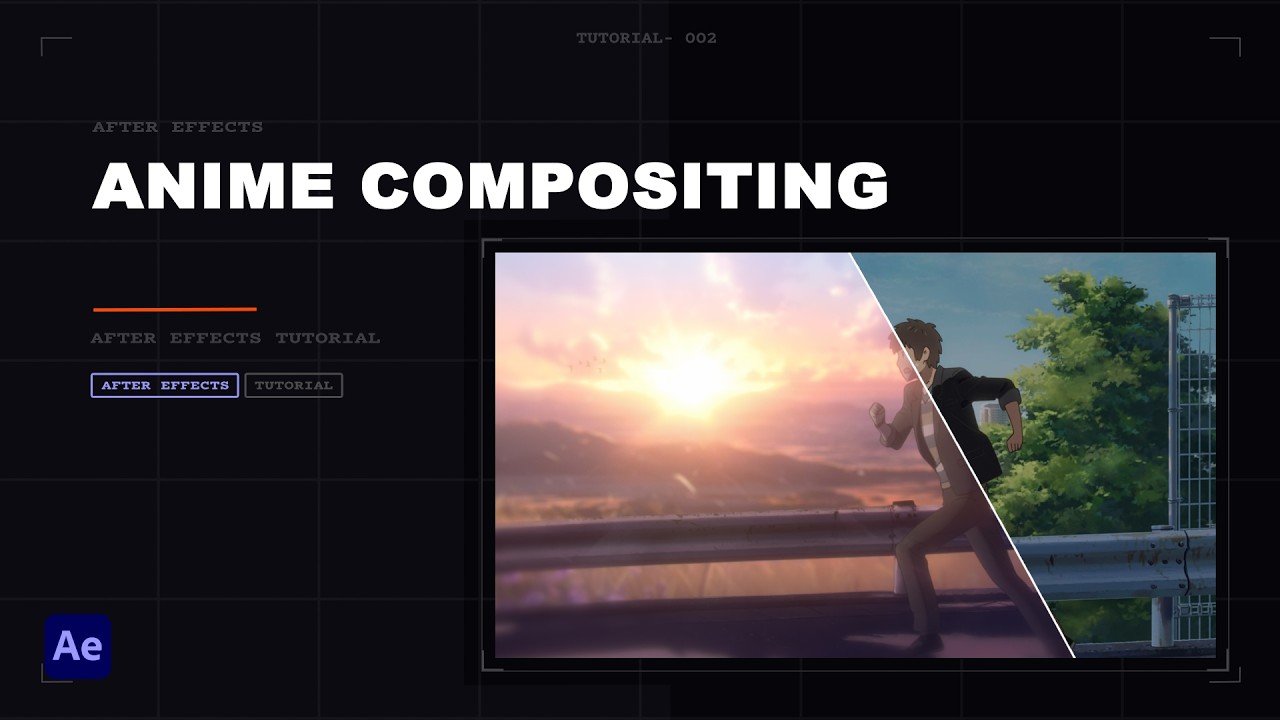
In this After Effects tutorial, I will show you my custom rotoscoping technique specifically designed for getting perfectly clean anime cutouts for your AMVs. We are completely ditching the Rotobrush and Pin Tool to avoid the messy, glitchy edges they usually leave on 2D animation. Follow along to learn this fully manual masking workflow and take your anime edits to the next level!
Prerequisites
- After Effects CC (any recent version)
- Source footage with a relatively static background, or a pan you can motion-track
- Patience — rotoscoping takes time
Resources
Step 1 — Isolate color and keying
Finding the right color channel
Take advantage of the fact that anime scenes often feature clear color palettes. If a background color strongly contrasts with the character (e.g., the blue sky), you can use this to separate them. Duplicate your layer and focus on complex areas like the hair first. Apply the Color Key effect, select the background color, and adjust the tolerance. Duplicate the effect if necessary to key out more color nuances and completely detach the distracting background.
Step 2 — Masking and adjusting levels
Channel isolation with Levels
Draw a rough mask around the hair area. Next, add an Adjustment Layer with the Levels effect. Switch to the Blue channel in both your effect controls and the scene viewer. Drag the black input slider to the right and the white input slider to the left until you achieve a harsh black-and-white contrast.
Important: Ensure you don't crush the fine details of the hair tips.
Step 3 — Maximize contrast and fill gaps
Change to Color & Median Effect
Switch back to your RGB channel. Apply the Change to Color effect and change the setting to Hue, Lightness and Saturation. Select the background color and check the View Correction Matte option.
To completely fill internal gaps in your character (like the eyes), use another Adjustment Layer with the Median effect. Draw a very rough mask strictly around those gaps and increase the median radius (e.g., to 12) until the area turns completely solid. This Pre-Comp will now serve as your mask for the head.
Step 4 — Separate the rest of the body
Create a mask for the body
Repeat the general process for the rest of the body. Duplicate the composition, delete the old Color Keys, and isolate the lower body section instead. Draw a simple, rough mask around the lower body. Create a new white Solid layer at the very bottom to fill in any empty space outside the character. This acts as your final stencil map for the body.
Step 5 — Smooth edges and export
OLM Smoother & Luma Matte
With this method, the edges of your black-and-white map will initially look extremely jagged and pixelated. Use the free plugin OLM Smoother on an Adjustment Layer to soften and fix the edges. Render this map out as an MP4 file or a PNG sequence.
Bring the rendered file back into your main composition and use it as a Luma Matte (Track Matte) on your original clip. If you still have minor background bleeding, apply the Simple Choker effect with a low value to shrink the mask inward slightly.
Step 6 — Adapt the technique to other scenes
Alternative color channels (e.g., Red Channel)
This technique is not a one-size-fits-all and often requires tweaking. For different shots, you might use the Color Key to isolate parts of the character into a solid color (like Red). Then, switch to the Red channel, push the Levels to separate the character, and use Change to Color again to generate your black-and-white mask. Render the map and apply it as a perfect Luma Matte.