What you'll learn
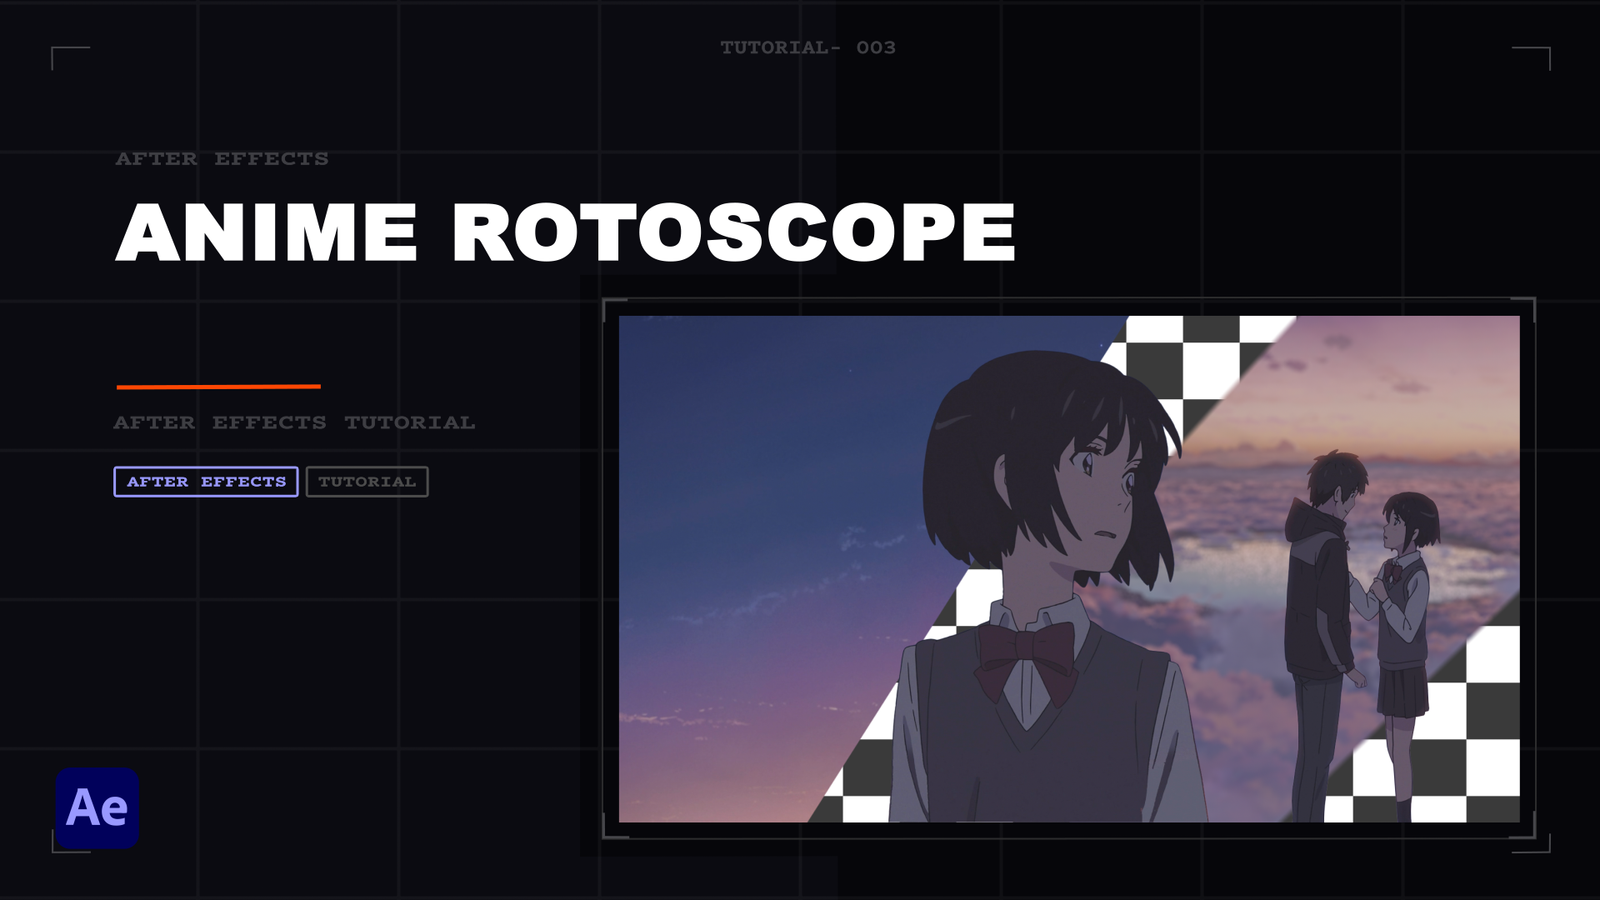
In this tutorial I'll walk you through my full re-lighting pipeline for anime characters — from isolating body areas in After Effects with the TFrog Relight script, to generating Normal Maps and relight in Houdini with Karma XPU, to compositing the final light pass back onto your character.
Prerequisites
- After Effects CC (any recent version)
- Houdini (any version with LOPS/Karma XPU)
- TFrog Relight script + Normal Scanner plugin
Resources
TFrog Relight Script Tutorial AssetsStep 1 — Script installation and setup
Installing TFrog Relight in After Effects
Download the TFrog Relight script and place it in your After Effects Scripts/ScriptUI Panels folder. Restart After Effects, then open it via Window → tfrog_relight.jsx. The panel will dock into your workspace.
Also grab the Houdini project file from the assets above — this contains the pre-built LOPS network and Karma render setup so you don't have to wire everything from scratch.
Step 2 — Isolate areas (skin, jacket, pants)
Color Keys and masks per body region
With your character layer selected, open the TFrog Relight panel and click New Region. Use the eyedropper to sample the skin tone — the script automatically applies a Color Key effect and isolates that area into its own pre-comp. Repeat for each clothing region (jacket, pants, hair, etc.).
For complex regions with multiple colour tones, stack several Color Key effects in the same comp or use the Color Range Key mode in the script (covered in Step 6). Draw rough masks around each region to prevent bleed from adjacent areas.
Step 3 — Create Normal Map and Opacity Map
Normal Scanner plugin + B&W Opacity Map
With all regions isolated, apply the Normal Scanner plugin to generate a Normal Map from your character. This map encodes the surface direction of each pixel — Houdini will use it to calculate how light should fall.
Also export a black-and-white Opacity Map: white where the character exists, black where it's transparent. This is your stencil for Houdini so it only renders light on the character shape. Export both maps as PNG sequences or EXR files.
Step 4 — Import and setup in Houdini
LOPS network, Point Lights, and Karma XPU
In Houdini, open the provided LOPS project file and import:
- Your character footage (or a representative still frame)
- The Normal Map sequence
- The Opacity Map sequence
- Your camera data (if motion-tracked)
Add Point Light nodes for each light source you want — position them around the character to create the highlights you need. Adjust colour, intensity, and falloff per light.
In the Karma XPU render settings, set the output to EXR and enable Light Path Expressions so you can isolate individual light contributions if needed. Keep samples low for test renders, then crank them for your final pass.
Step 5 — Apply highlights and colours in After Effects
Luma Matte compositing with Exposure and Presets
Bring your rendered Light Map back into After Effects and place it above the original character layer. Set the track matte to Luma Matte — this makes only the bright (lit) areas of the Light Map visible on your character.
From here, use Exposure or Levels adjustments to control the intensity of the highlights. Apply your colour presets or LUT on top to integrate the new lighting with the existing look of your AMV. Subtle is usually better — the goal is realism, not glowing neon.
Step 6 — Tips for gradients
Color Range Key for complex tonal areas
Hair is the hardest region to isolate because it contains dozens of colour values across highlights and shadows. Instead of sampling each tone manually, switch the script mode to Color Range Key. This samples a range of hues in one pass and generates a single mask that covers the full gradient automatically.
Adjust the range width in the script controls — too wide and you'll bleed into the background, too narrow and the hair edges will flicker. A value of around 15–25 works for most anime hair.
Step 7 — 32-bit and edge correction
Why 32-bit matters and how to fix dirty edges
Always work in 32-bit colour in After Effects (Composition Settings → Color Depth → 32 bpc). This preserves the full dynamic range from your Houdini EXR render — highlight detail that would clip in 8-bit is retained and controllable.
For dirty or jagged edges after compositing, two fixes work well:
- Paint tool: manually paint over problem frames on a new solid layer set to the character's edge colour
- Noise: add a small amount of Noise or Grain at the edge region to break up the hard pixel boundary — this integrates naturally with the anime's existing texture