What you'll learn
This tutorial walks through a complete composite shot from scratch: building and lighting an environment, adding convincing camera movement via parallax, applying depth of field and atmospheric haze, integrating an anime character with dynamic highlights, and finishing with a cinematic grade in Magic Bullet Looks.
1 — Preparing and Aligning the Environment
Building the background
Import your environment plate and check whether the light source sits in the right position relative to your character. If the sun or key light is on the wrong side, flip the background horizontally by setting its Scale X to -100%. This corrects the lighting direction without re-rendering anything.
Using the Proportional Grid
Enable the Proportional Grid in After Effects (View → Show Grid, then set it to Proportional Grid in preferences). Adjust the grid colour and subdivision count so it reads clearly over your footage. The grid is invaluable for lining up the vanishing point and placing the light source exactly where you need it — eyeballing these almost always produces an off result.
Inserting and Pre-comping the Ground
Place your ground element (a road, floor, or terrain) into the comp. When you pre-comp it, choose "Leave all attributes in the composition" (or "retain composition size") so the layer's transforms stay intact and the ground fits correctly into the main environment comp without offset issues.
2 — Faking Camera Movement (Parallax Effect)
Simulating Motion
A static camera with a running character looks immediately fake. To sell the run cycle you need the ground and background to move at different speeds, mimicking how a real tracking shot works.
Animate the ground's Position with keyframes: pull it from the front of the frame toward the back over the duration of the shot. The ground should cover noticeably more distance per second than the background.
Adjusting the Background
The background moves in the same direction but significantly slower — usually a third to a fifth of the ground's speed — and at a slightly different angle. This offset in speed and angle creates the parallax effect that communicates spatial depth. Without it, the scene reads as a flat cutout even if every individual element is correctly composited.
3 — Depth of Field and Atmospheric Contrasts
Camera Lens Blur
Apply Camera Lens Blur (Effect → Blur & Sharpen) to the environment pre-comp. A small blur radius on the distant background reinforces the parallax depth: objects further away from the camera focal plane appear slightly softer, exactly like a real lens.
Atmospheric Perspective
In nature, particles in the air reduce the contrast of distant objects — mountains look hazier and lower-contrast than objects close to the camera. Recreate this with the Curves effect on your background: lower the highlights and lift the blacks slightly to flatten the contrast. The foreground ground should be visibly more punchy and contrasty than the background.
Color Depth
Add a subtle blue tint to the shadow region of the ground using Curves (pull the blue channel up in the shadows). Then place a blue Solid layer set to the Screen blend mode over the background with a soft feathered mask. This simulates atmospheric haze and ties the background into the same colour space as the atmospheric perspective you just applied.
4 — Integrating the Character and Highlights
Adjusting Framerate
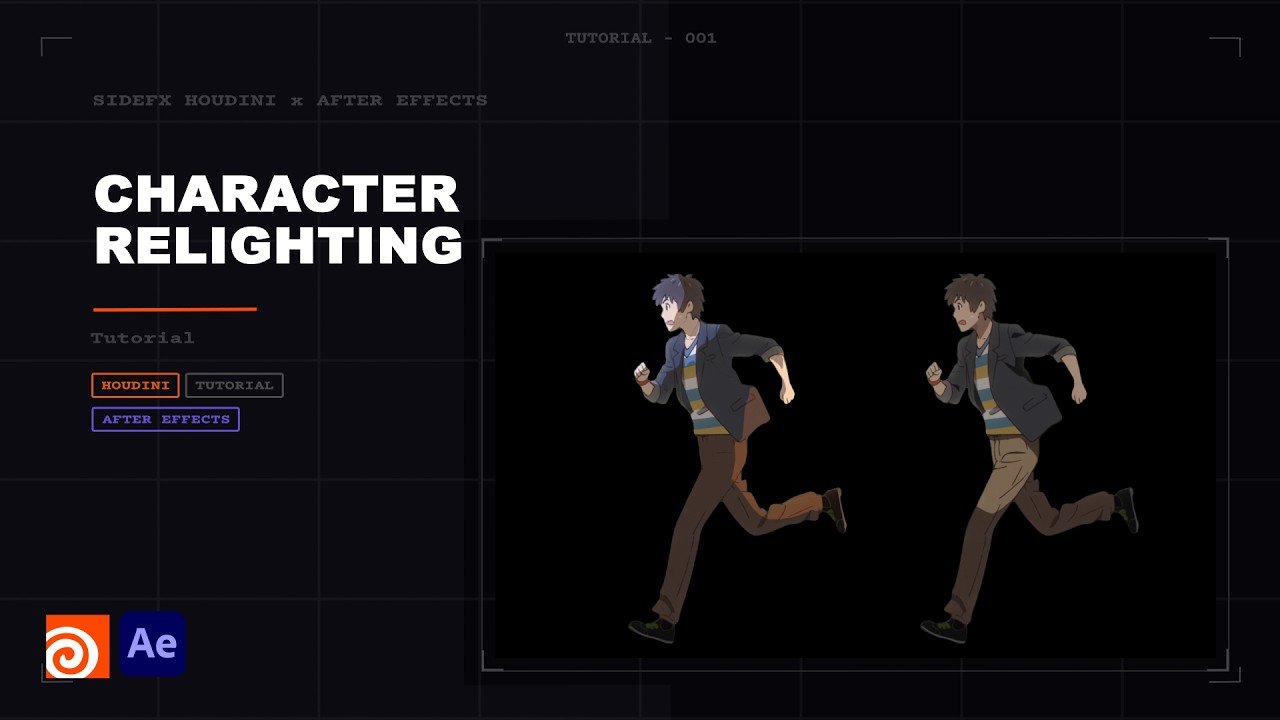
Anime characters are commonly animated on 2s or 3s — a new drawing every 2 or 3 frames rather than every frame. If you drop the character into a 24 fps comp without accounting for this, the holds between drawings cause stuttering that looks like a playback error.
Enable Time Remapping on the character layer and switch the keyframe type to Toggle Hold Keyframes. This locks the layer to update only on the frames where a new drawing actually appears, making the animation read as a deliberate stylistic choice rather than a technical problem.
Highlights via Luma Matte
- Bring in your character layer and the corresponding Light Map (a greyscale render of where light falls on the character).
- Duplicate the character layer and place the Light Map directly above the duplicate.
- Set the Light Map as a Luma Matte for the duplicate — only the bright areas of the Light Map will be visible.
- On this highlight layer, apply:
- Exposure — boost to intensify the highlight brightness
- Tint — shift the highlights toward the light colour (warm orange for sunlight, cool blue for overcast)
- Sharpen (or Unsharp Mask) — increase edge crispness so the highlight reads as a specular rather than a soft glow
Animate the Exposure or Tint values slightly over time so the highlights shimmer rather than sitting static, which would immediately reveal them as a composited layer.
5 — Final Color Grading with Magic Bullet Looks
Color Grading Setup
Create a new Adjustment Layer at the top of the main comp and apply Magic Bullet Looks. All grading from this point happens inside the Looks interface, leaving the underlying composite untouched and easy to re-adjust.
Lens Effects
- Optical Diffusion — softens the light falloff around the character, giving the image a slight glow without blooming the highlights.
- Edge Softness + Swing/Tilt — directs focus toward the centre of the frame where the character is. The edges blur softly, keeping the viewer's eye on the action.
- Lens Distortion (Fisheye) — a very subtle barrel distortion (keep it low) adds a slight optical imperfection that makes the shot feel like it was captured through a real lens rather than composited.
- Chromatic Aberration — push magenta/yellow fringing to the edges only. This complements the lens distortion and adds to the optical realism.
Color and Light
- Warm the overall scene slightly — shift the temperature toward orange to unify the sunlit environment.
- Add a subtle pink tint to the highlights.
- Bring contrast up a small amount and reduce exposure slightly so the image doesn't read as over-bright.
- Use Spot Fill to isolate the sun area in the background and push it warmer (orange) and more radiant. This pulls the viewer's eye toward the light source and reinforces the environment direction established in Step 1.
Final Polish
Add Renoiser (or any comparable film grain effect) as the last element in the chain. A very low amount of grain unifies all the layers — the background, the ground, the character, and the highlights — making them feel like they were captured in the same photochemical moment. Without grain, the composite layers often look like separate clean digital elements sitting on top of each other.
Finish with CC Jaws (Effect → Transition → CC Jaws) on a Black Solid to create cinematic letterbox bars. Set the completion to a fixed value with no animation keyframes so the bars stay static. Letterboxing focuses the composition, hides the very edges where parallax layers may not extend fully, and instantly adds a cinematic register to the shot.