So your AMV looks crispy and clean in your editor, you upload it, and YouTube hands it back to you looking like it went through a blender. Or After Effects scrubs like it's running on a potato. Or the sky in one scene turned into a weird staircase of color stripes and you have no idea why.
Welcome. It's codecs. It's always codecs.
Nobody explains this stuff in a way that makes sense, so here it is in plain human language. No engineering degree required.
1. MP4 is NOT a codec (this is the big one)
Okay, here's the thing that confuses literally everyone, so we kill it first.
Think of an .mp4 as a cardboard box. Just a box. Inside the box you've got your video, your audio, maybe subtitles. The box's only job is to hold that stuff together. .mov, .mkv, .avi — also just boxes. These are called containers.
The codec is the actual thing inside the box — and more importantly, how it got shrink-wrapped to fit. H.264, H.265, ProRes — those are codecs. "Codec" is just a nerd word that smashes together coder + decoder. It's the recipe for squishing the video down and unsquishing it later.
Why you care:
- An
.mp4can have H.264 inside it. Or H.265. Or other stuff. - A
.movcan have totally different things inside it. - So the file name tells you basically nothing. A friend saying "it's an MP4" is like saying "it's in a box." Cool, what's in the box??
Want to actually know? Grab a free tool called MediaInfo, drag your file in, and it tells you the real codec, the bit depth, all of it. Do this. It takes 3 seconds and saves you hours.
2. Why video files need codecs at all (because raw video is THICC)
Quick one. Real, uncompressed video is insanely huge. One single 1080p frame is about 6 MB. At 24 frames a second, that's like 150 MB per second of video. Your 4-minute AMV would be the size of a small country.
So codecs cheat. Smartly. Two main tricks:
Trick 1 — don't repeat yourself within a frame. If half the screen is plain blue sky, the codec doesn't save every single pixel. It just goes "that whole chunk = blue, k." Same idea as a JPEG.
Trick 2 — don't repeat yourself between frames. This is the big brain move. From one frame to the next, usually barely anything changes. So instead of saving every full picture, the codec saves what changed.
That gives you three types of frames you'll see mentioned everywhere:
- I-frame = a full photo. The real deal. Big.
- P-frame = a sticky note that says "same as the last frame, but the mouth moved a bit." Tiny.
- B-frame = an even lazier sticky note that goes "eh, figure it out from the frame before AND the frame after." Smallest, but the most work to read.
A bunch of these together (one full photo + a pile of sticky notes) is called a GOP. Remember that word for like two more sections, then you can forget it.
3. Why anime specifically gets WRECKED: banding
Now the part that's actually about our footage.
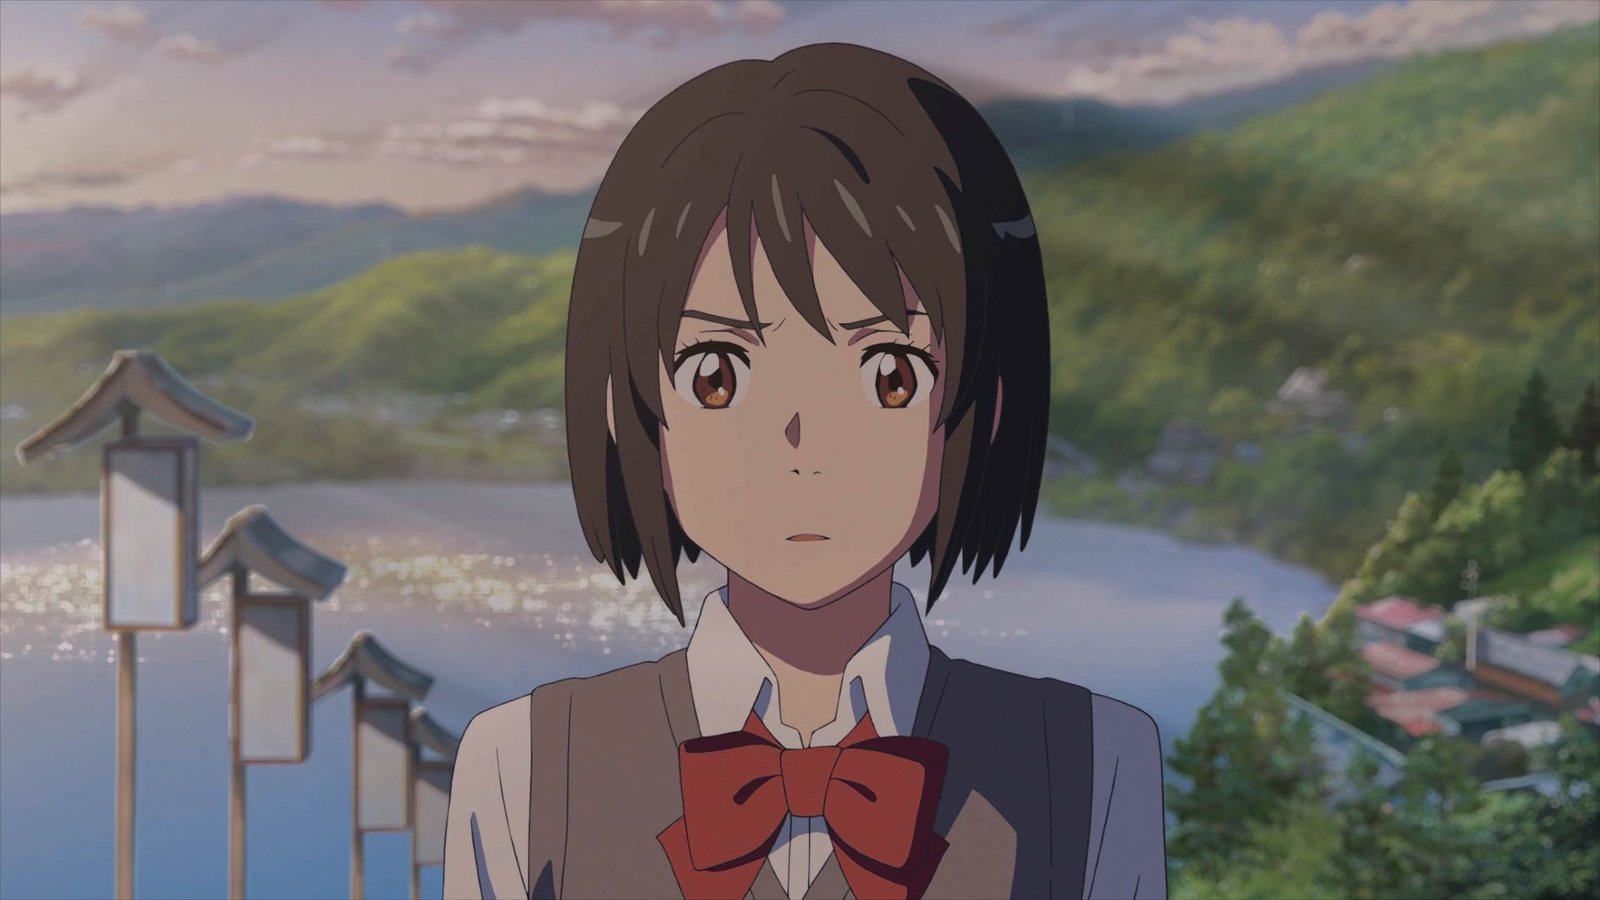
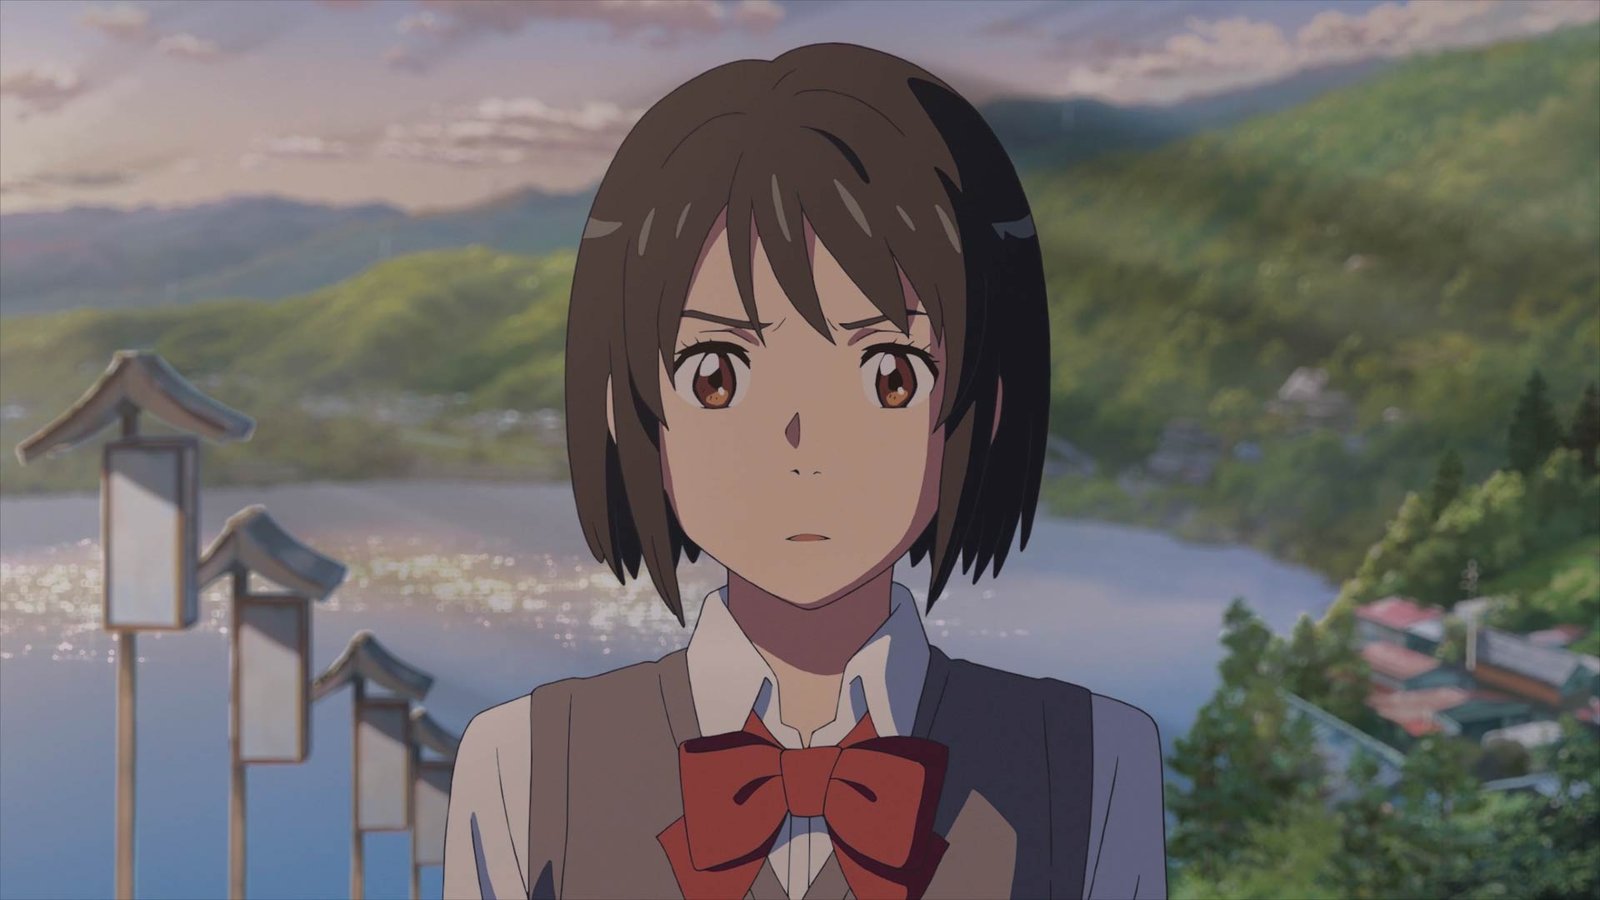
Anime is kind of a nightmare for codecs, and here's why: it's full of smooth gradients. Skies. Sunsets. Glowy magic effects. Soft lighting. Those big silky color fades.
And here's the problem. Most anime is 8-bit, which means it only has 256 shades of each color to work with. A long smooth gradient needs way more shades than that to look smooth. So instead of a buttery fade, you get... stairs. Visible color stripes. That's called banding, and once you see it you can't unsee it.
Then you go and add a glow or a color grade on top, export it, YouTube compresses it again, and the banding gets worse at every step. It's a pile-up.
You can't fix the source (it is what it is, 8-bit 4:2:0, deal with it). But you absolutely can avoid making it worse — and there's a one-click After Effects setting later that helps a TON. Hang on for it.
4. 4:2:0, 4:2:2, 4:4:4 — what are these cursed numbers
You'll keep bumping into these. Here's the deal, dead simple:
Your eyeballs care WAY more about brightness than about color. Like, it's not even close. So codecs save space by keeping all the brightness detail but quietly throwing away a bunch of the color detail. You barely notice. Genius, kinda gross, very common.
- 4:2:0 = "we gave up on a lot of the color detail." This is what almost everything uses — your anime sources, YouTube, normal H.264/H.265 exports. Totally fine for watching.
- 4:2:2 = "okay we kept more color." Better for grading.
- 4:4:4 = "full color, every pixel, no cheating." Needed for serious compositing and clean masks.
What you need to take away: your anime is basically always 8-bit, 4:2:0. You can't change that. Just don't go exporting your work-in-progress files back down into more crushed 4:2:0 in the middle of editing. We'll get there.
5. H.264 vs H.265 (yes they just added 1)
Real quick, what your sources actually are:
- H.264 — the everywhere codec. Almost every anime Blu-ray rip and web source is this. Works on literally everything. 8-bit, 4:2:0, classic.
- H.265 — the sequel. They added 1 to the name. Truly groundbreaking branding. It's about 2x more efficient (same quality, half the file size), so it's used a lot for 4K. Downside: it's heavier on your computer and has annoying licensing drama, which is why it didn't take over as fast as you'd think.
- MPEG-2 — ancient DVD stuff. Low-res and soft. Shows up for old series.
Notice these are all "made to be watched" codecs. None of them were built for editing. Which is the whole reason for the next part.
6. Why After Effects acts like it's dying (Long-GOP)
This is the most useful thing in here, so actually read it.
Remember the sticky notes? H.264 and H.265 are "Long-GOP" codecs — one full photo followed by a LONG chain of sticky notes. Amazing for file size. Terrible for editing.
Why? Because to show you one single frame, the software has to grab the full photo and then rebuild your frame from the whole chain of sticky notes. It's like trying to read page 50 of a book where every page just says "same as the last page but +1 word" — you have to read all 50 pages to know what page 50 says.
And editing is constantly jumping to random frames. That's the worst possible thing to ask a Long-GOP codec to do. So After Effects scrubs like garbage, takes forever to RAM preview, and stutters until you want to throw your mouse.
It's not your PC being bad (well, maybe a little). It's the codec.
The one rule to remember: squished codecs like H.264/H.265 are for uploading. They are NOT for editing. Don't comp on them if you can help it.
7. The fix: convert your footage BEFORE you edit
So if the upload codecs are bad for editing, what do you edit with? Codecs that store every frame as a full photo — no sticky notes, every frame ready to go instantly. Way bigger files, but butter-smooth to work with. Your options:
Free + lossless (zero quality lost, popular in the anime scene):
- UT Video Codec — fast, free, lossless. Good pick.
- Lagarith — the classic AMV-editor favorite. Free, lossless, Windows.
"Lossless" = literally zero quality loss, pixel-perfect. The catch is big file sizes, so these are great for shorter clips and effect-heavy shots.
The fancy ones (industry standard):
- ProRes — what the pros use. ProRes 422 HQ is your everyday workhorse. ProRes 4444 is the one you use when you need transparency (alpha channel) — like exporting an overlay or a logo.
- DNxHR — basically the same thing from a different company. DNxHR HQ ≈ ProRes 422 HQ.
On Windows and worried ProRes is Mac-only? It's not anymore — free tools like Shutter Encoder (and FFmpeg) convert to ProRes/DNxHR just fine. Or just use Lagarith/UT Video and skip the stress.
Do you HAVE to do this? If your edit is mostly straight cuts on decent sources, you can often just edit directly, it's fine. But the second you're doing heavy effects, masking, or frame-by-frame stuff in After Effects — convert first. It's the difference between a chill session and suffering.
8. The After Effects settings that actually save your edit
Three settings. Learn these and you're ahead of most editors.
The anti-banding cheat code: 16-bit
Go to File → Project Settings → Color and there's a bit depth dropdown. By default it's on 8-bit, which means every glow, blur, and color grade you do is calculated with only those measly 256 shades. So banding gets baked in while you work. Bad.
Switch it to 16-bit. Now AE does all that math with thousands of shades — way more room to breathe — so any gradient or glow you create stays smooth. Your source is still 8-bit, sure, but everything you build on top of it stops banding.
It renders a bit slower. Do it anyway. It's the single biggest "wait my edit looks cleaner now??" setting for anime.
Need transparency? Use the right codec.
If you're rendering an overlay, a logo, a transition, anything that needs see-through parts, regular H.264/H.265 can't do transparency. Use one of these instead:
- ProRes 4444 (it carries an alpha channel)
- a PNG sequence (lossless, works everywhere, easy)
Render Queue vs Media Encoder — don't mix them up
AE gives you two export buttons and they're for different jobs:
- Render Queue — for your master file. Export lossless or ProRes here. This is the high-quality version you keep.
- Media Encoder — for your final upload file. This is where you make the H.264 you actually put on YouTube.
The clean move: render a high-quality master first, then make your upload file from that. You only do the quality-crushing compression once, right at the end.
9. The silent killer: photocopy-of-a-photocopy
Every time you re-squish a lossy file (H.264 → edit → H.264 → re-export → H.264...), it gets a little worse. The damage stacks up. It's literally like photocopying a photocopy of a photocopy — by the fifth copy it's mush. This is called generation loss, and it's why so many AMVs look worse than the source they started from.
The fix is one habit:
- ❌ squished source → edit → squished → effects → squished → re-upload (rip)
- ✅ source → (convert to lossless/ProRes) → edit → lossless master → ONE final squish for upload
Compress to a lossy codec exactly once. At the very end. That's it.
10. The actual YouTube export settings (2026)
Heads up: YouTube re-encodes everything you upload into its own formats. You can't stop it. So the goal isn't to "beat" it — it's to hand it the cleanest possible file so the re-encode survives. Better in = better out.
Here's what YouTube officially wants:
- Container: MP4, with Fast Start on (sometimes called "moov atom at front") so it processes right.
- Video: H.264, High profile. (H.265, VP9, or AV1 also fine if you know what you're doing.)
- Audio: AAC, 48 kHz, 384 kbps stereo.
- Frame rate: match your source EXACTLY — 24, 25, 30, 60, whatever it is. Do not turn 24 into 30. It makes the file bigger and adds zero quality. Pure downside.
- Bitrate: use VBR, and 2-pass if your software has it — it's cleaner for the same size.
- Color: Rec.709 / BT.709 for normal (non-HDR) video.
Bitrates to actually use (this is your upload, YouTube delivers lower):
| Resolution | 24/30 fps | 60 fps |
|---|---|---|
| 1080p | ~8 Mbps | ~12 Mbps |
| 1440p | ~16 Mbps | ~24 Mbps |
| 4K | ~35–45 Mbps | ~53–68 Mbps |
Two cheat codes every AMV editor should know:
- Upload higher than the minimum. For an effects-heavy edit, doubling that bitrate gives YouTube way more to chew on. Worth it, especially with our banding-prone footage.
- Export in 4K even if your edit is 1080p. YouTube gives 4K uploads a higher delivery bitrate, so a 1080p edit upscaled to 4K (or finished at 4K) often comes out cleaner after YouTube mangles it than the same thing uploaded at 1080p. Old-school AMV trick, still works, still slaps.
TL;DR for the people who scrolled straight here
- MP4 = the box. The codec = what's inside. The file name doesn't tell you the codec. Check with MediaInfo.
- Anime bands hard because it's 8-bit + full of gradients. Don't make it worse.
- H.264/H.265 are for uploading, not editing. That's why After Effects lags on them.
- Convert your sources first — free Lagarith/UT Video, or ProRes 422 HQ / DNxHR HQ.
- Set your AE project to 16-bit before adding effects. Instant glow-up, no banding.
- Need transparency? ProRes 4444 or a PNG sequence.
- Compress to a lossy codec ONCE, at the very end. Don't photocopy the photocopy.
- YouTube export: MP4 / H.264 High / 2-pass VBR / match your frame rate / Rec.709. Go above the minimum bitrate, and finish in 4K for a cleaner result.
Stuck on something or fighting banding you can't beat? That's what this site's for. Now go make something cool — and keep those gradients smooth.